The Process
How Xinity Works
No cloud migration. No workflow disruption. Xinity deploys directly on your hardware, connects to your existing tools through a new base URL and API key, and gives you full control over every AI call from day one.
Try Before You Deploy
Book a demo and experience Xinity Runtime live before any commitment.
We Assess Your Infrastructure
Before we touch anything, we map your existing hardware, network setup, and current AI usage. We identify the right GPU configuration for your workload and flag any prerequisites so there are no surprises on deployment day.
We Deploy Xinity on Your Hardware
Our team installs the Xinity platform directly on your servers, in your building, behind your firewall. The platform is configured for your environment, your GPU nodes, and your security policies. Nothing touches the internet.
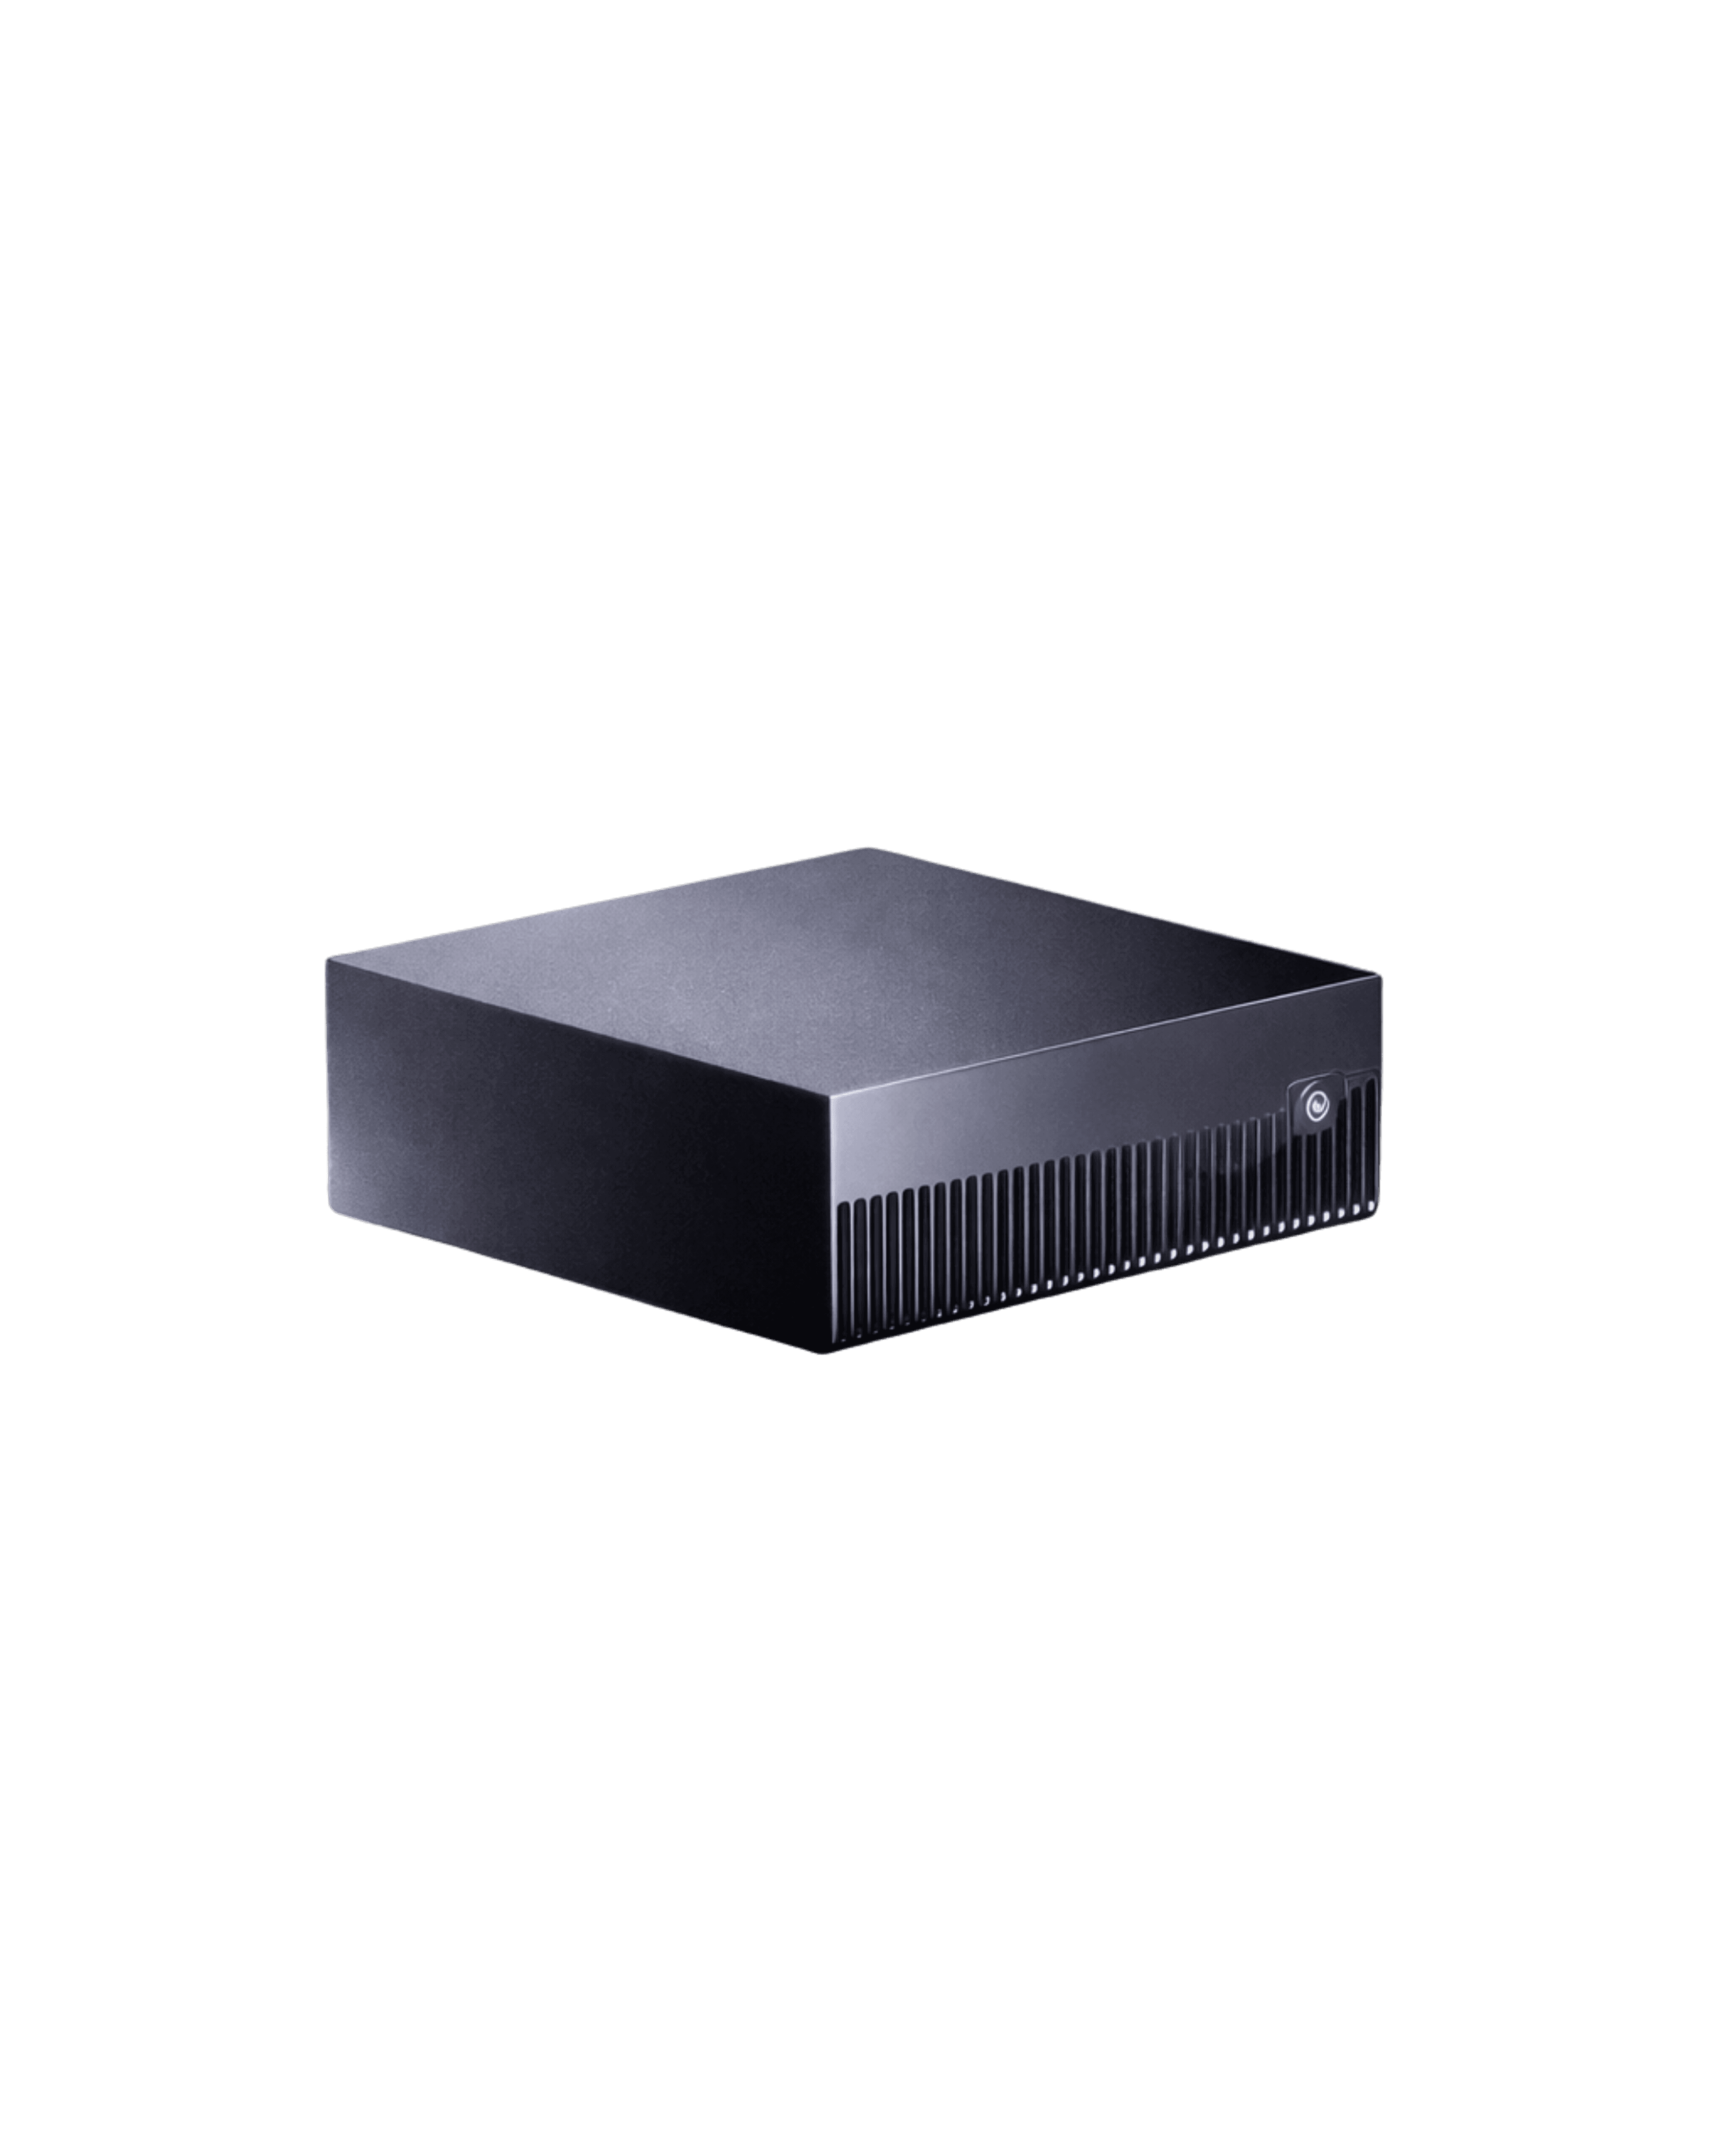
Your Existing Apps Connect Instantly
Xinity exposes a fully OpenAI-compatible API endpoint on your local network. Point your applications at the new base URL, swap the API key, and every app, script, or workflow that currently calls a cloud API now calls your own infrastructure instead. No rewrites. No downtime.
We Configure Your AI Models
We deploy and configure the open source models best suited to your use cases, from general-purpose LLMs to domain-specific models for healthcare, legal, or finance. Model routing is set up to automatically direct requests to the right model based on task type, cost, and latency requirements.
You Go Live. You Own Everything.
Your team starts using AI on your own infrastructure. The Xinity dashboard gives you full visibility: every AI call logged, costs tracked in real time, models monitored for performance. Your compliance team gets the audit trail they need. Your finance team gets the predictable costs they need.
Frequently Asked Questions
Not necessarily. Xinity runs on GPUs you already own, and the free Community tier covers up to 120 GB of VRAM. If you do not have suitable hardware yet, a deployment normally starts with a 30 day pilot: we bring an ASUS Ascent GX10 to your building and set it up on your own data, free for the month and cancellable at any point.
They keep running. Xinity exposes an OpenAI-compatible endpoint, so your applications keep their SDKs, prompts and request formats. You point them at a new base URL with a new API key. Many teams start by routing a small share of traffic to Xinity to compare quality and cost before moving the rest.
Yes. Xinity supports multi-node operation, and nodes can be added as demand grows. The dashboard shows driver version, supported features and available VRAM per node, along with capacity estimates, so you can see what each machine will carry before you deploy a model to it.
Still have a question? Contact us